
Mini Feeder Overview


Getting Started
(Complete overview still in progress)
- Build feeder stand and gold trap stands.
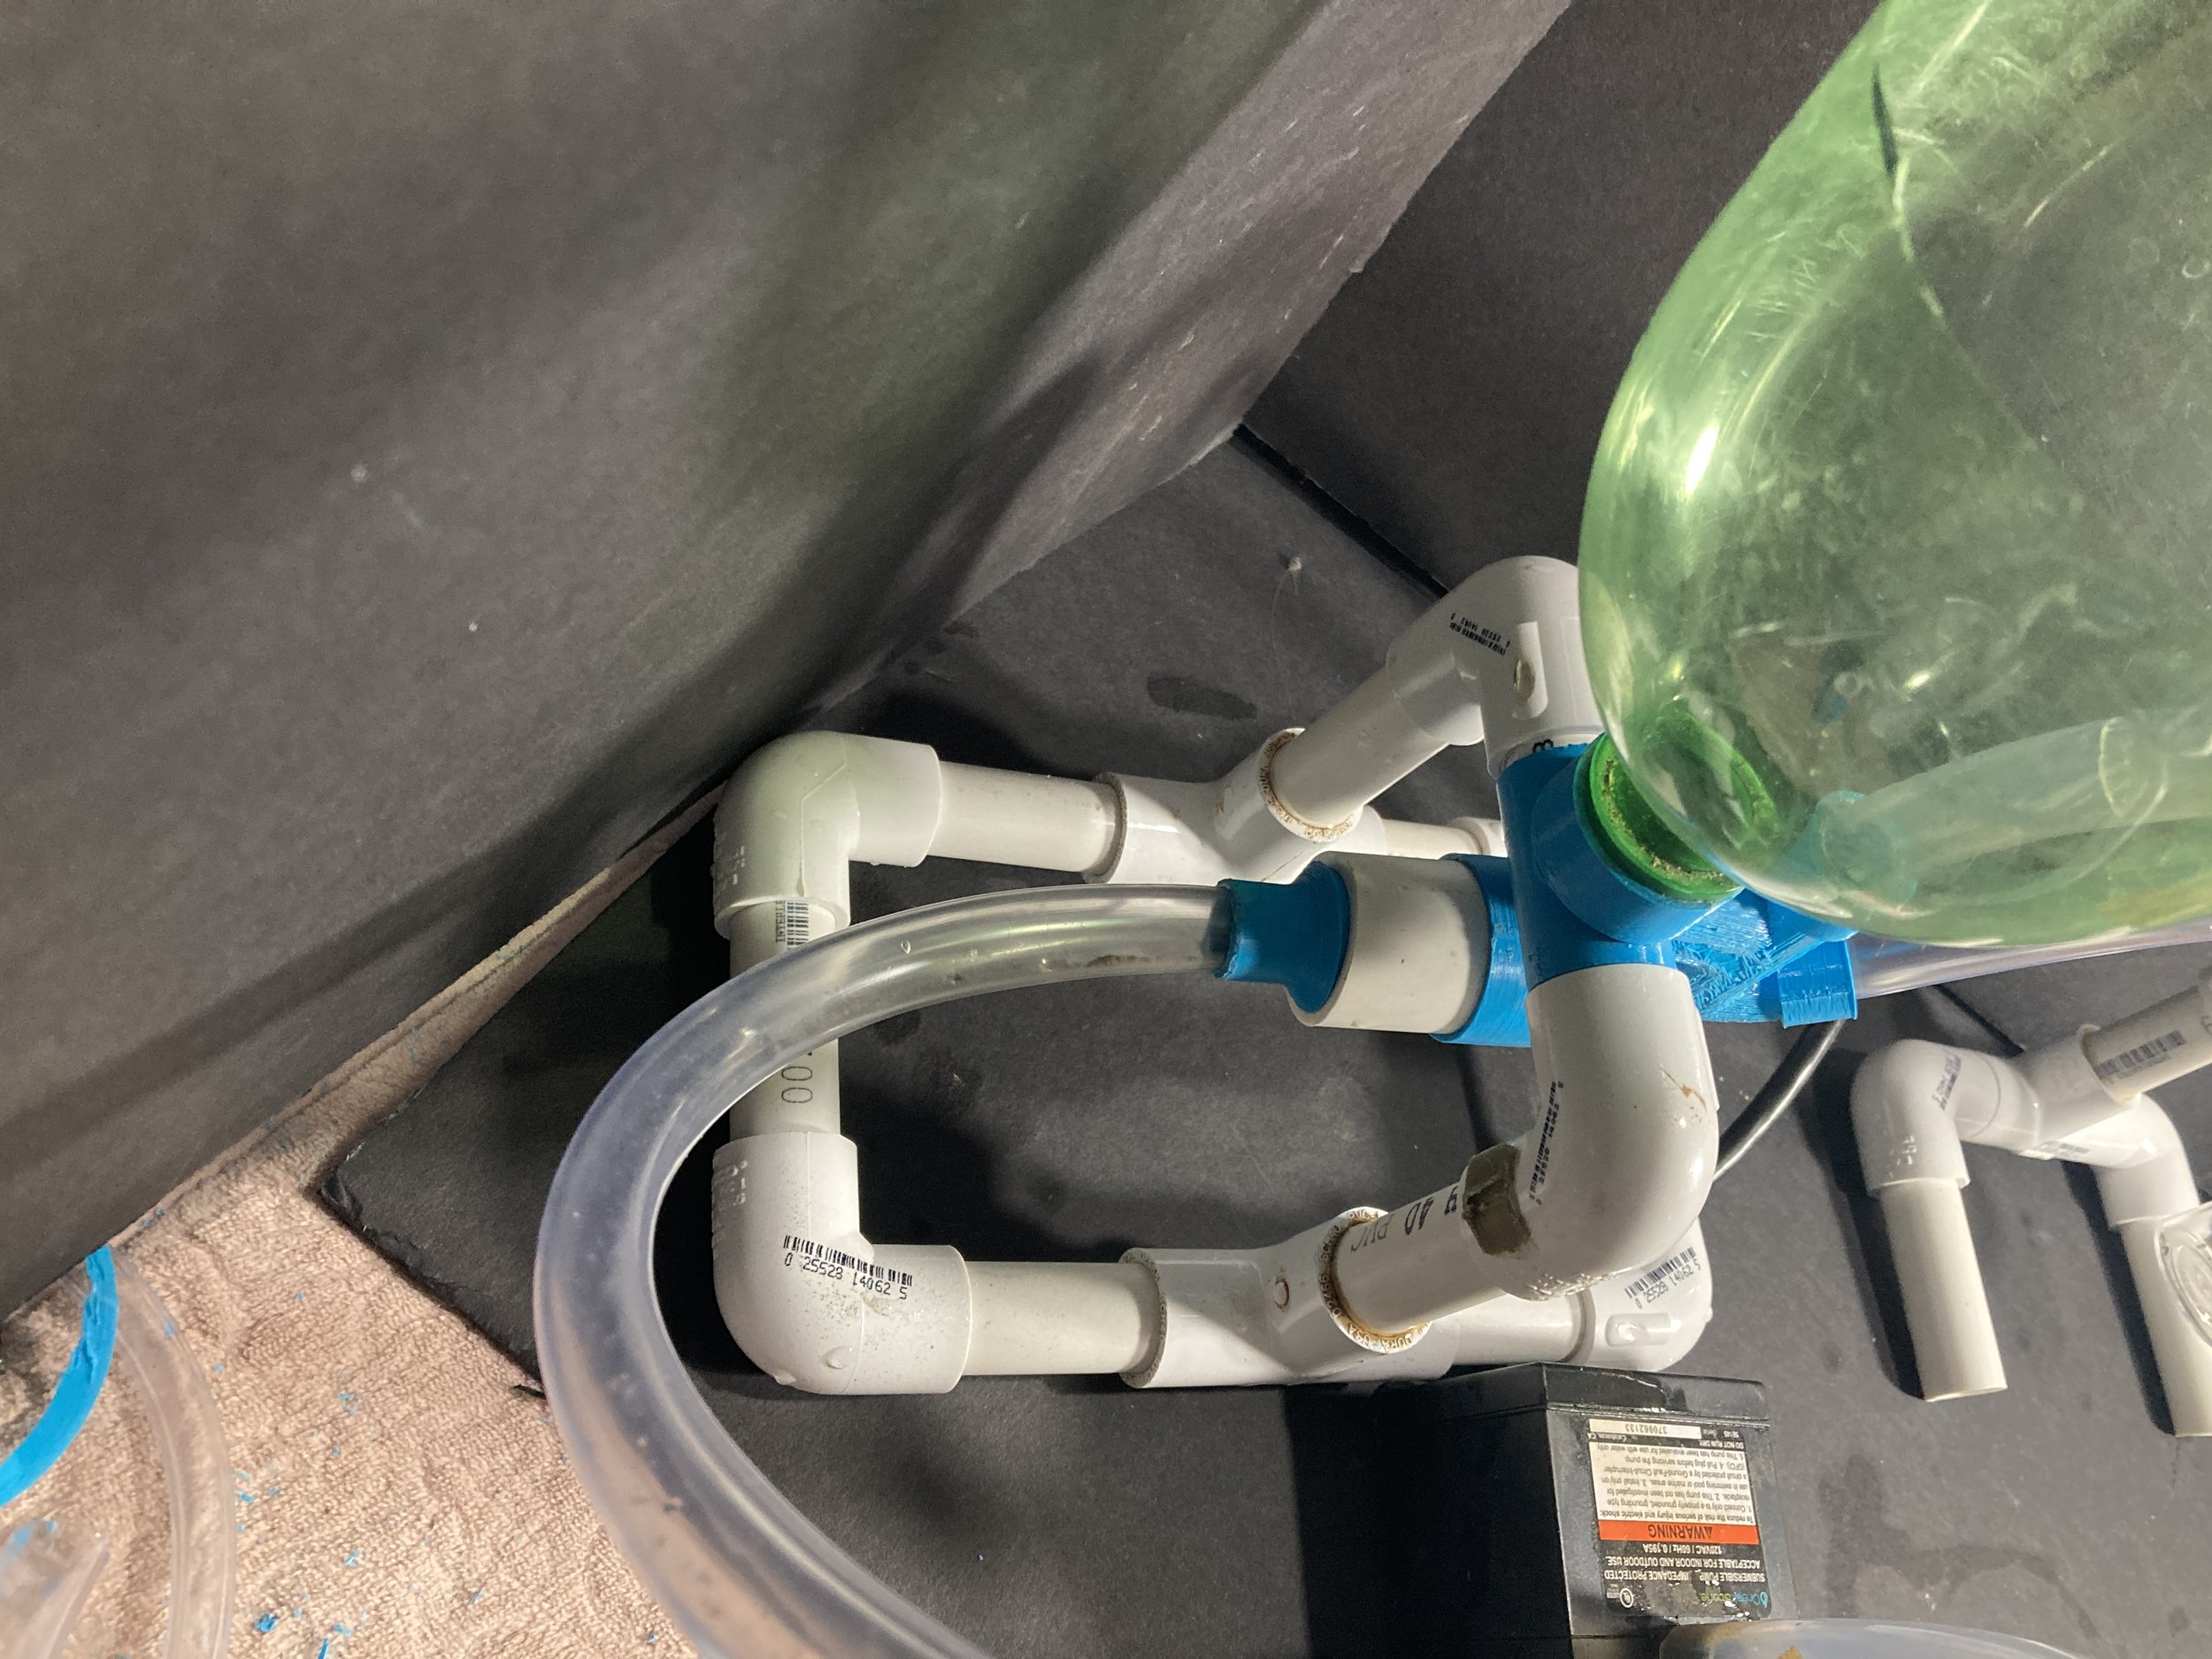
- Connect vinyl tubing to feeder as shown in images above
- Assemble gold traps (If applicable)
- Classification, The mini can run up to 4 mesh material but I recommend running around 8 mesh material your first time getting use to the system and how each gold traps acts with the feeder.
- Place setup inside a container large enough to fit the entire system inside comfortably, a 60qt under bed storage container is good for testing and processing concentrates. Larger containers with 5 gallon buckets can be used to process larger volumes of material.
- Make sure pump is attached and turned to its lowest setting and the feeder is pivoted all the way to the back position. The tubing from the pump to the feeder should be a full loop of tubing oriented vertically so that it less likely for material to feed into the pump, incase of a system failure ( A check Valve would be idea in-between the pump and the feeder)
- The feeder hopper uses a soda bottle as a male connector to the female port of the feeder, some water may come out of this port connection at first but seals up soon after material is first fed into it. Adapter kits will be available soon that will allow the use of larger buckets to be attached to the feeder.
- All connections may leak in the beginning of each new operation but will soon go away once it is fed with material, what could be thought of as priming the system and the gold trap(s)
- The two siphon ports are "The Main Port" and "Classifier Port", the water level in the hopper should never go below level of the hopper port. To raise this water level you can turn up the flow of your water pump but if the gold traps in use do not need higher flows rates, you could instead raise the height of the main port discharge tube at its end point. This is the point where the siphon breaks down and looses its "pulling" power.
- The classifier port builds off of everything previously said about the main port but added to that is the height of the classifier port when compared to the main port end discharge height. The differences between each heights determines the levels of classifications along with how many times the classifier tube is reduced and/or if it is reduced. Generally the end of the classifier run must be above the end of the main port run, but can be below when classifier tube is reduced twice or more.
- When using a feeder like this, the potential for gold traps is vast. At this time I am working on providing some reliable starter gold traps but I always encourage others to be creative in creating their own traps and configurations. This feeder should be able to feed directly into most existing gold recovery systems as well.
- When it comes time to do the clean up just disconnect everything with a twisting motion, if tubing is just pulled straight out it could potentially sling gold. Be sure to clean out feeder as this is the first place where some gold tends to get trapped at. When the feeder is supported on both sides, remove it by rocking it back and forth while pulling one of the supports out. After that continue to rock the feeder back and forth while pulling it off the other support. Removing the hopper and all tubing before removing feeder will be best before removing the feeder from its stand.